We’ve all been in situations where we accidentally posted something we didn’t mean on Facebook. Putting your life on display on social media can be nerve-racking. However, you always have an undo option if you post something you don’t want anymore.
Here’s how to delete a post on Facebook.
To delete your Facebook post:
- Locate the post you wish to delete from your profile.
- Select the three dots next to the post.
- Select “Move to Recycle Bin.”
Your post will be removed from your profile and moved to the recycle bin, where it stays for 30 days, in case you want to bring it back.
In this article, we’ll further look into the steps of removing a post from your Facebook profile and manually deleting the post from the recycle bin.
Skip ahead:


How to delete a Facebook post via desktop
If you wish to delete a Facebook post from a desktop device, here is what you need to do:
Step 1: Log in to your Facebook account
Open Facebook on a tab in your browser and log into your account.
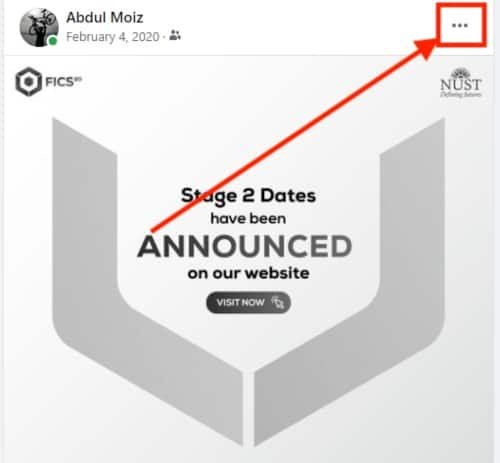
Step 2: Find the post you want to delete
Locate the post you wish to delete and press the three dots on the upper right corner of your post; a menu of options will appear on your screen.
Step 3: Move the post to the recycle bin/trash
Choose the option “Move to your recycle bin/Trash?” and confirm to move.

Your post has been moved to the recycle bin and is no longer visible to anyone on your profile.
Once your post is moved to the recycle bin, it’ll stay there for 30 days until it is deleted permanently.
You can restore the post if you want to within this time frame.
You can also delete the post permanently from the recycle bin if you want to make sure it is gone for good immediately, though.
Note: Some users might see different options such as ‘Move to your Trash?’ or ‘Delete Post?’. You can choose any of these options.
How to manually delete a Facebook post from the recycle bin
Here’s a quick method for manually removing your post from the recycle bin:
Step 1: Open “Settings & privacy”
Press your profile picture on the top right corner of your screen. Select the option labeled “Settings & privacy.“
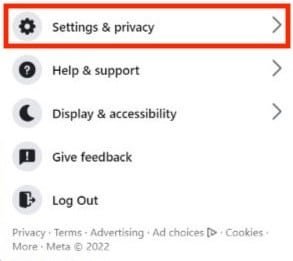
You’ll see a few options pop up.
Step 2: Open the “Activity log”
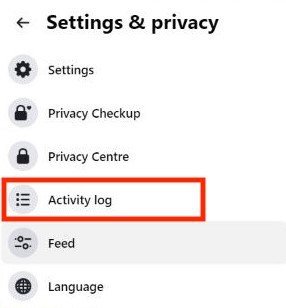
Choose “Activity log” from the options. It’ll be the fourth option.
Step 3: Look for “Recycle Bin”
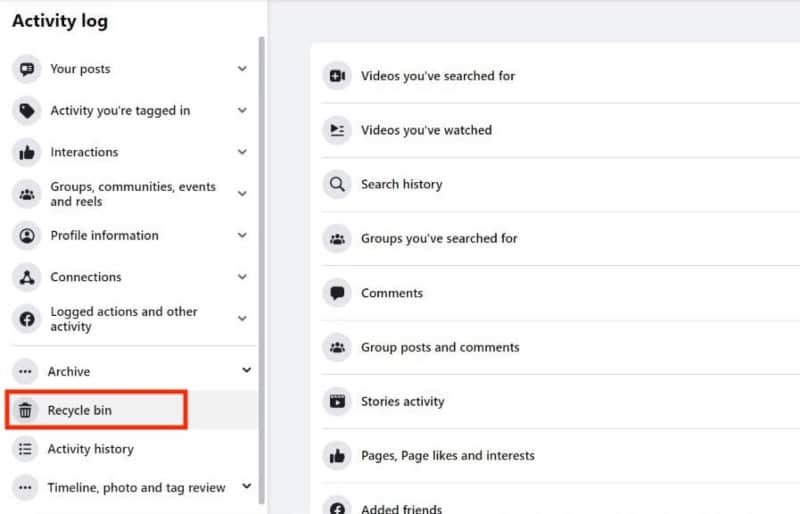
On the left side of your screen at the bottom, there will be an option labeled “Recycle Bin.” Once selected, you’ll be able to see your removed post.
Note: Some users might see ‘Trash.’ Both options are correct and are the same.
Step 4: Delete your post
Press the three-dot icon beside the post you wish to delete.

Select the “Delete” option. A pop-up will then appear.

Select the “Delete” option once again, and your post is deleted.
How to delete a Facebook post from the mobile app
Deleting a Facebook post on the mobile app is similar to deleting it on the web. Since we use our phones more frequently, it can even feel easier to do.
Here are the steps you need to follow:
Step 1: Open the Facebook App
Simply open your Facebook application on your phone and log in to your account using your email and password.
Step 2: Go to your profile
Once the app opens, you will find a small circular icon with your profile picture on the top right. Press that icon, and you will be directed to your profile.
Step 3: Remove your post
Find the post you want to delete and click on the three dots in the upper right corner of your post.
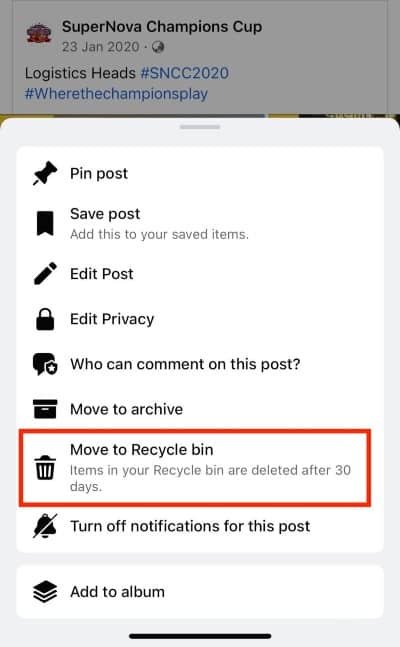
Select the option “Move To Recycle Bin.” You will receive a pop-up confirmation.
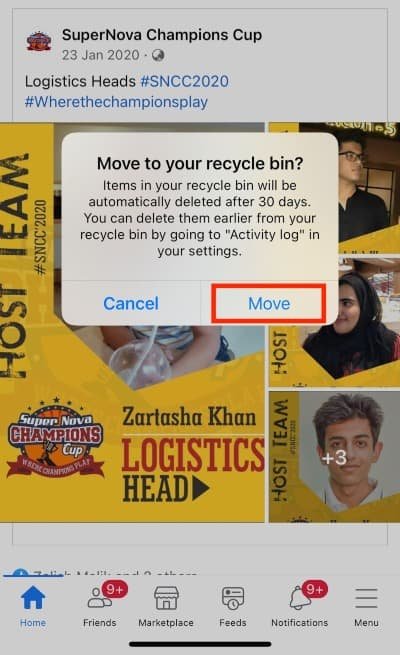
Once again, press the option “Move.”
Your post will be moved to the recycle bin for 30 days and removed from your profile. You can restore it during this time if you wish.
How to manually empty the recycle bin on the Facebook app
If you want your post to vanish into thin air quickly, you can do it in three easy steps.
Here’s how to manually remove your post from the recycle bin using the Facebook app:
Step 1: Open your Settings
Press the “Menu,” which will be visible at the bottom of your screen.

Scroll to the bottom of this menu, and select “Settings & Privacy.”
Step 2: Access your recycle bin
Scroll down to find the label “Activity Log” in your settings and click on it.

On the top of the screen, you will see the option “Recycle bin.”
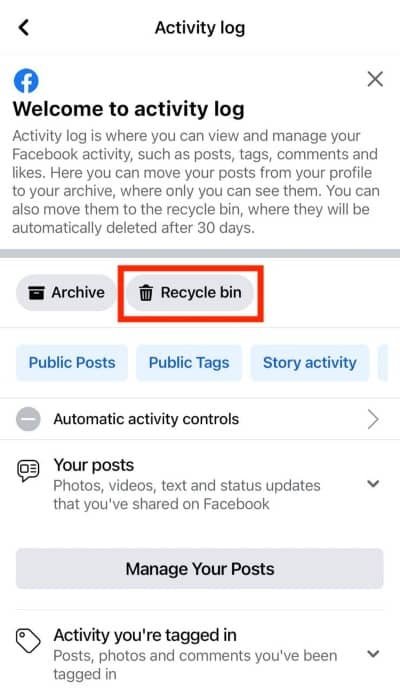
Once you select this, you can see the post you wish to delete.
Note: You can also search for ‘Activity log’ in the search bar.
Step 3: Delete the post permanently
You must press the three dots next to your post and then select the option to “Delete.”
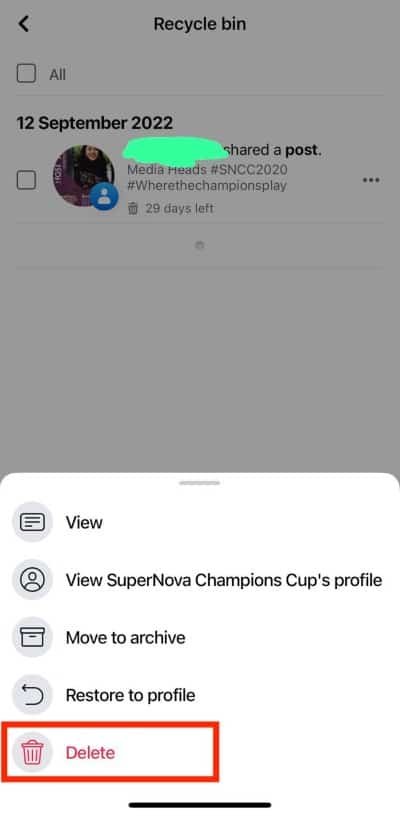
A pop-up will appear asking for confirmation; select delete again to remove the post from your recycle bin.
Once your post is removed from the recycle bin, you can’t bring it back.
Final thoughts on deleting Facebook posts
Deleting posts can help remove old memories or photos from your account or if you just want to clean up your timeline. It’s an easy process and only takes a few minutes.
It is important to remember that when you delete a Facebook post, after 30 days, it is gone for good.
There is no way to bring it back once it’s been removed from the recycle bin. So if you’re thinking about deleting something, make sure it’s something you don’t want anyone to see anymore.
You can also adjust your privacy settings on posts if you don’t want your posts to be public, and you can even block specific users from seeing your posts and profile if you wish.